
Brightspeed Business
Hub Support
Brightspeed Business
Hub Support
Brightspeed Business
Hub Support
Create a Custom Detail Billing Report
Create a Custom Detail Billing Report
Create a Custom Detail Billing Report
If you want to limit the details or display data beyond what a standard Detail Billing Report provides, create Custom Detail Report.
You can create a new Custom Detail Billing Report from scratch, base it on a copy of an existing report, or edit an existing report and save the changes. Use the sorting section to determine how your data will appear display. If a group is designated, the report will be sorted by group and then further sorted if you select options from each sort field. If no group is selected, the Custom Detail Billing Report will be sorted by the specified sorting options.
To create a Custom Detail Billing Report:
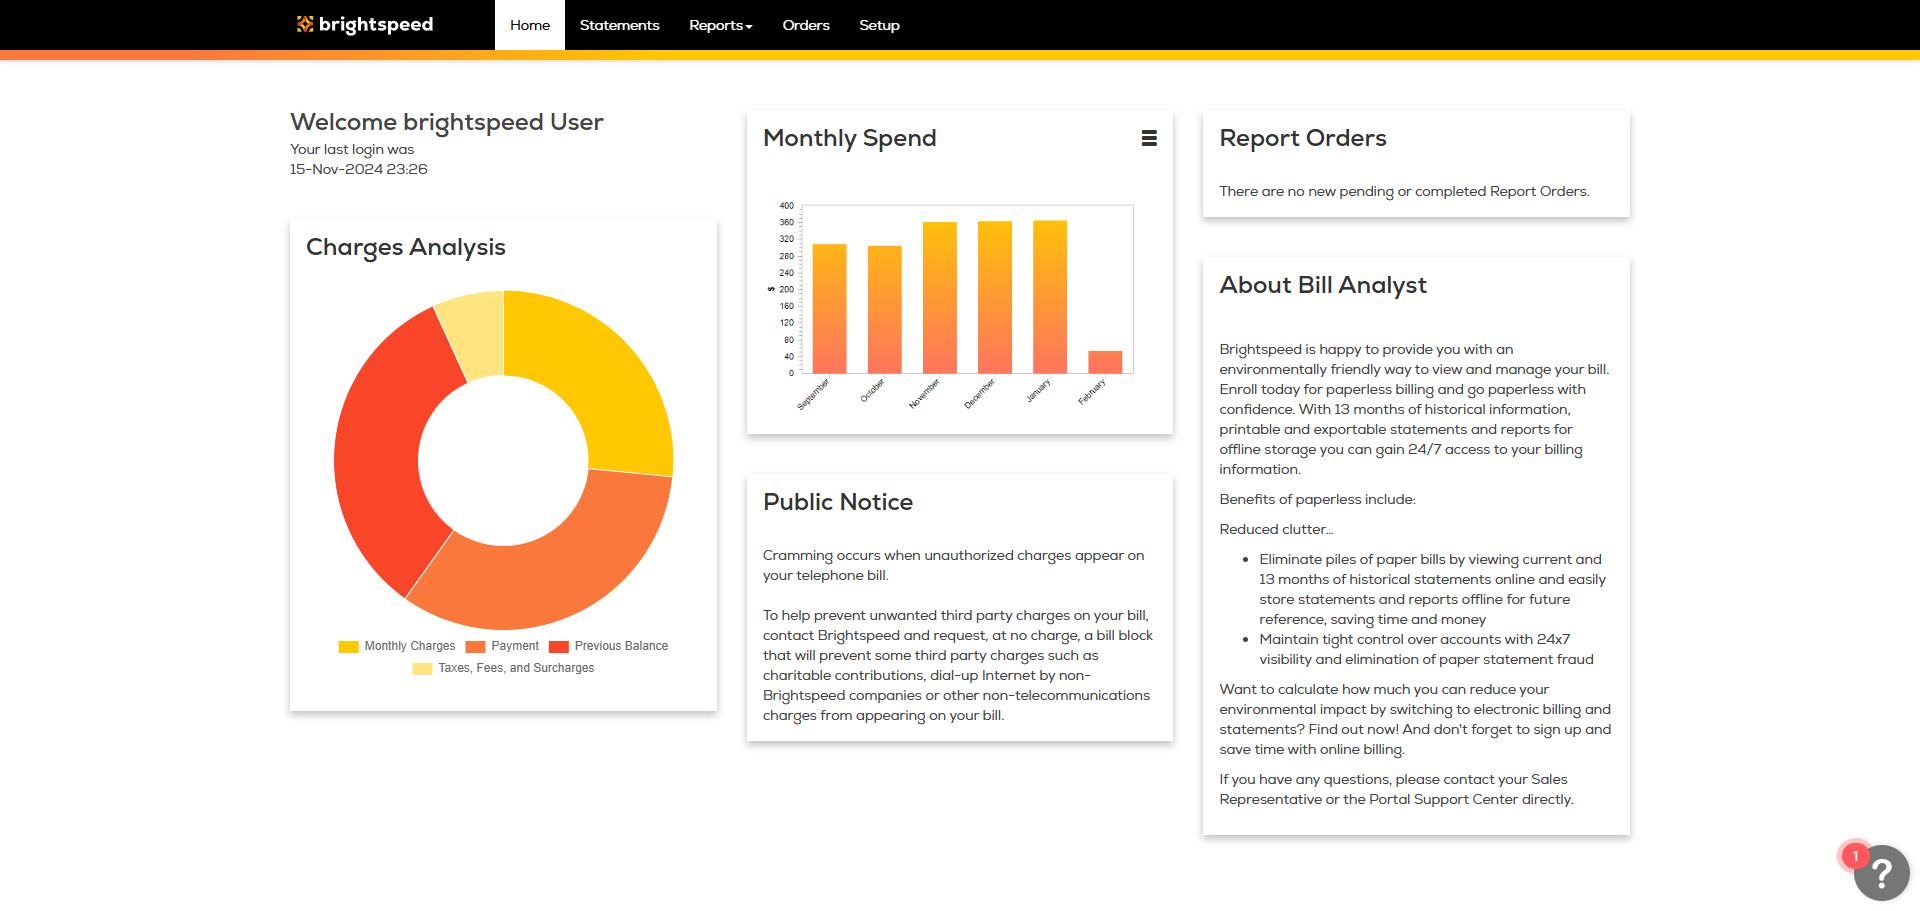
- Sign in to Business Hub.
- Click Billing > Bill Analyst.
- Select the radio button next to the account you want to view, and then click Launch Bill Analyst.
- Click the Reports tab, and then click Detail Reports.
- Click Add Report.
- To create a new report, do one of the following:
- Select the “Start with a copy of an existing report” radio button. From the Report Name field, select the report you want to copy.
- Select the “Start a new report” radio button. From the Report Type list, select the type of report you want to create.
- Click Continue.
- Select the sections you want to use to add details to your report:
- Type a name for the report. From the Default Filter list, select a filter.In the Columns section, select the fields you want included in your report by using the > button to move a field from the exclude list to the include list. To delete a field, use the < button to move a field from the include list to the exclude list.
- From the Sort 1 field, select the field to sort the data from, and then click down arrow/AZ icon to sort from a to z or the down arrow/ZA icon to sort from z to a. If you want to narrow your data, use Sort 2 - Sort 4 lists.
- In the Additional Options section, from the “Include up to...” data records list, select the number of rows you want included in the report. The fewer records you select, the quicker the report will display.
- If you want to share the report with your colleagues, select the “Share this report” checkbox.
- Click Save.
To create a Custom Detail Billing Report:
- Sign in to Business Hub.
- Click Billing > Bill Analyst.
- Select the radio button next to the account you want to view, and then click Launch Bill Analyst.
- Click the Reports tab, and then click Detail Reports.
- Click Add Report.
- To create a new report, do one of the following:
- Select the “Start with a copy of an existing report” radio button. From the Report Name field, select the report you want to copy.
- Select the “Start a new report” radio button. From the Report Type list, select the type of report you want to create.
- Click Continue.
- Select the sections you want to use to add details to your report:
- Type a name for the report. From the Default Filter list, select a filter.In the Columns section, select the fields you want included in your report by using the > button to move a field from the exclude list to the include list. To delete a field, use the < button to move a field from the include list to the exclude list.
- From the Sort 1 field, select the field to sort the data from, and then click down arrow/AZ icon to sort from a to z or the down arrow/ZA icon to sort from z to a. If you want to narrow your data, use Sort 2 - Sort 4 lists.
- In the Additional Options section, from the “Include up to...” data records list, select the number of rows you want included in the report. The fewer records you select, the quicker the report will display.
- If you want to share the report with your colleagues, select the “Share this report” checkbox.
- Click Save.