
Brightspeed Business
Hub Support
Brightspeed Business
Hub Support
Brightspeed Business
Hub Support
Enroll in AutoPay
Enroll in AutoPay
Enroll in AutoPay
Have your invoice paid automatically each month using a bank account (checking or savings) or a credit/debit card. After you set up AutoPay, funds are withdrawn from the bank account you choose. You can enroll or unenroll at any time. To change your payment information, unenroll the account from AutoPay, then re-enroll with your updated payment information.
Note: AutoPay using a credit card is limited by service, product, and location.
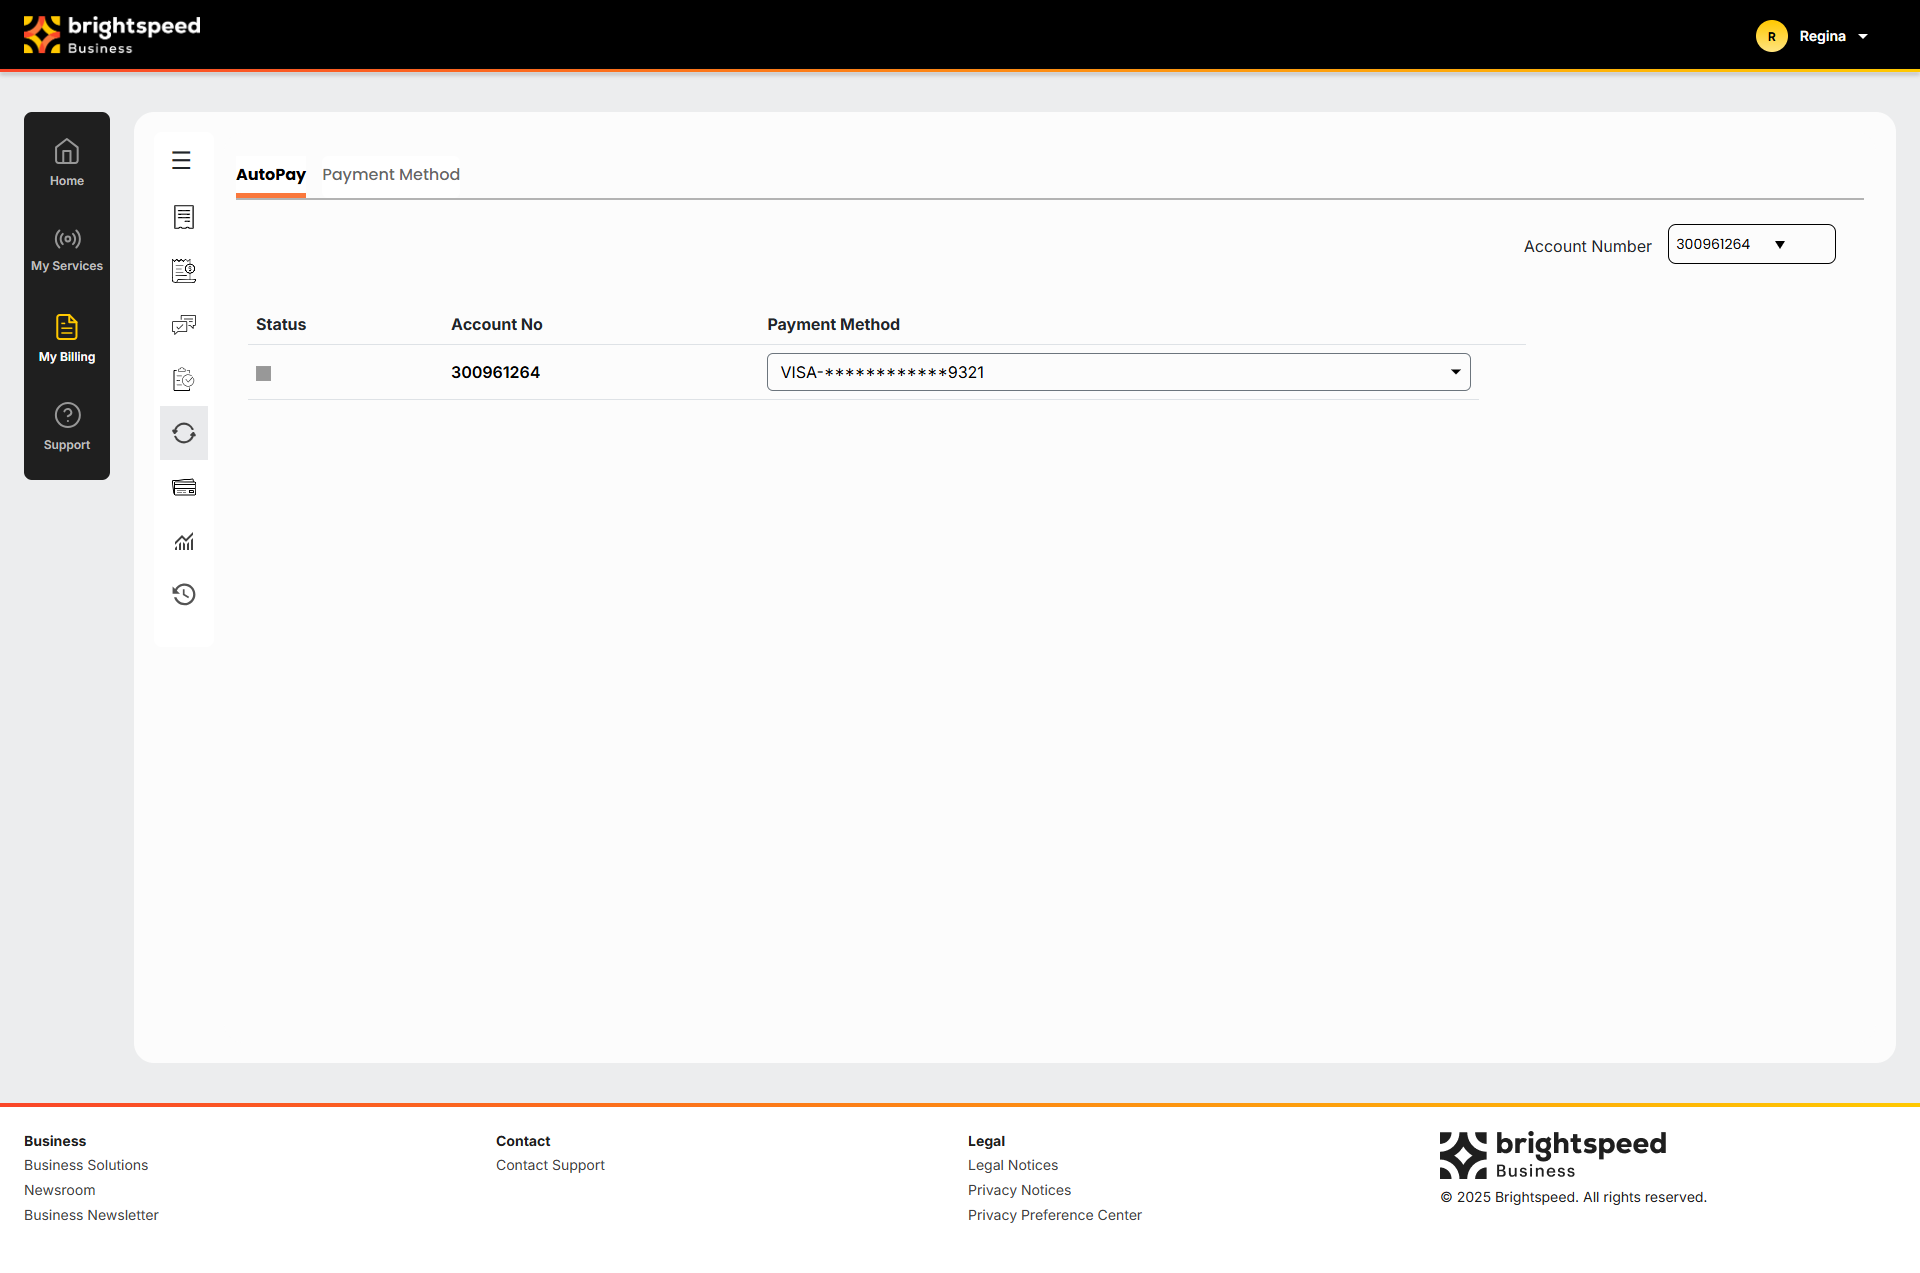
To enroll in AutoPay:
- Sign in to Business Hub.
- Click Billing > Account Settings. The Business Hub displays a list of the accounts with a status for each account:
- Not Enrolled: Account is eligible to enroll in AutoPay but isn't currently enrolled.
- Enrolled Bank Account: Account is currently enrolled in AutoPay using a bank account.
- Enrolled Bank Account Pending: Account was enrolled in AutoPay using a bank account, but Brightspeed is still processing the enrollment.
- Not Eligible: Account is not eligible to enroll in AutoPay.
- Enrolled Credit Card: Account is currently enrolled in AutoPay using a credit or debit card.
- Enrolled Credit Card Pending: Account was enrolled in AutoPay using a credit or debit card, but Brightspeed is still processing the enrollment.
- Review the list to be sure you've selected the account(s) you want to update. then do one of the following:
- If you selected the right account(s), click Confirm. Then continue with step 5.
- If you need to make changes or cancel the edits, click Cancel. Then go back to step 3.
- To set up AutoPay using a bank account:
- In the Routing Number field, type your bank's routing number.
- In the Account Number field, type your account number.
- From the Bank Account Type list, select whether it's a new checking or savings account.
- Select the checkbox to agree to the terms and conditions.
- To set up automatic payments using a credit or debit card:
- In the Card Number field, type your credit card number.
- Select the checkbox to agree to the terms and conditions.
- Click Next.
- In the Expiration Date field, select the month and year your credit card expires.
- In the Billing Zip Code field, type the billing address of your credit card.
- Click Next.
- Verify your the information, and then click Save.
Note: If the information is incorrect, click the Make Changes link.
Important: Continue paying your invoice as normal until your AutoPay enrollment is confirmed.