How to change DHCP settings on your modem
Dynamic Host Configuration Protocol (DHCP) settings allow you to set the parameters for how your modem assigns IP addresses to devices on your network.
Proceed with caution! Brightspeed recommends that you keep the default settings for the LAN IP address. Changes to this feature will reset other settings on your modem as well. Proceed only if you understand the technical impacts of this feature.
If you need to restore the default Brightspeed IP addressing values, they are:
- DHCP Server: Enable
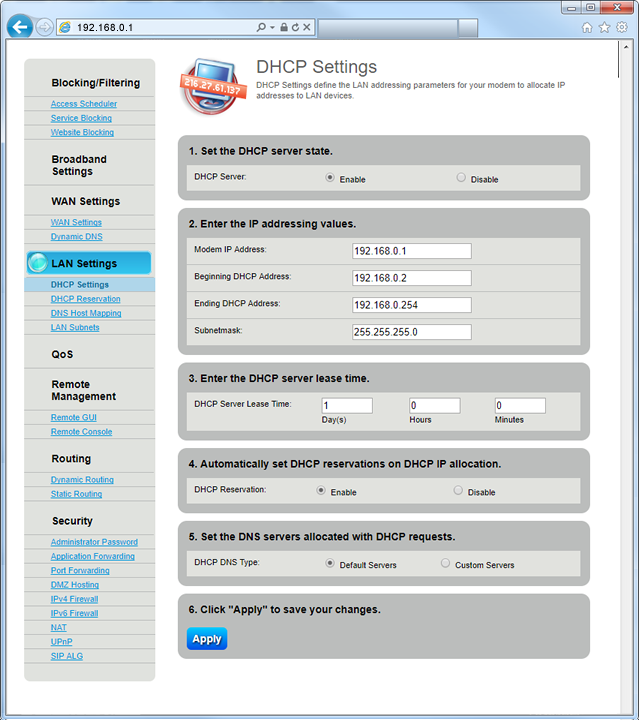
- Modem IP Address: 192.168.0.1
- Beginning DHCP Server Address: 192.168.0.2
- Ending DHCP Server Address: 192.168.0.254
- Subnet mask: 255.255.255.0
NOTE: This article applies to newer Brightspeed modems. Depending on your particular model, you may see slight differences in the features or layout of your modem's user interface.
1. Connect a device, such as a computer or tablet, to the internet through WiFi or using an Ethernet cable connected to your modem.
2. Open a web browser and type http://192.168.0.1 into the web address field.

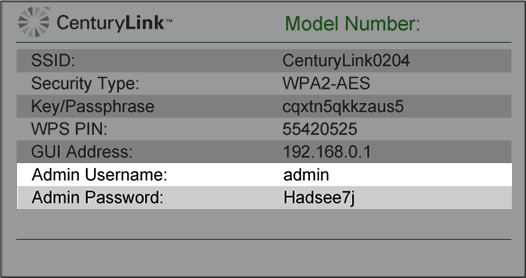
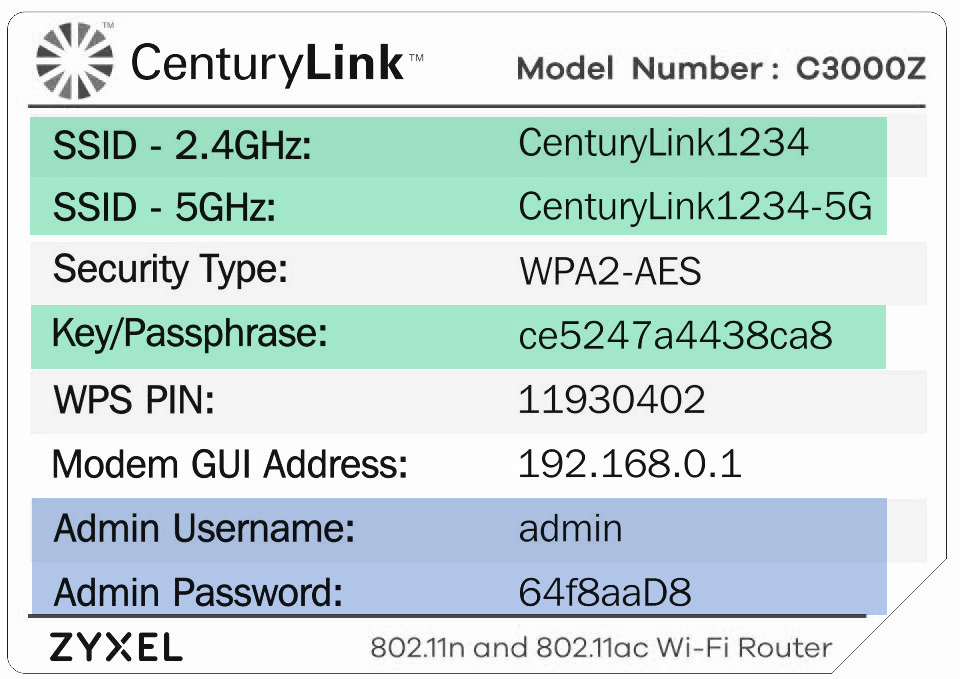
3. Log in to the modem's settings interface (Modem GUI) using your Admin Username and Admin Password. Note that these are different from your wireless network name (SSID) and WiFi password (security key).
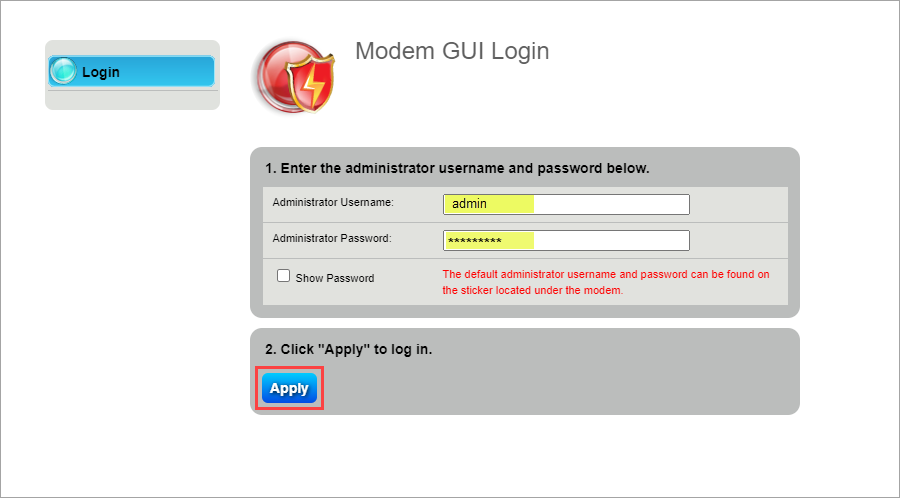
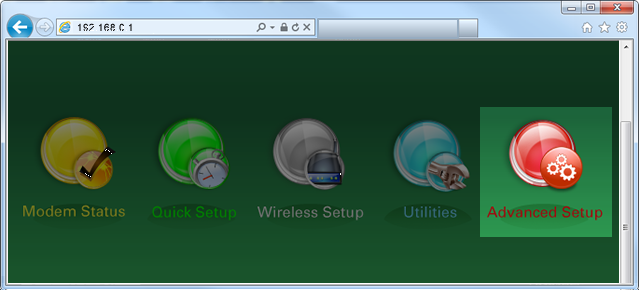
4. Select the Advanced Setup icon in the main menu.
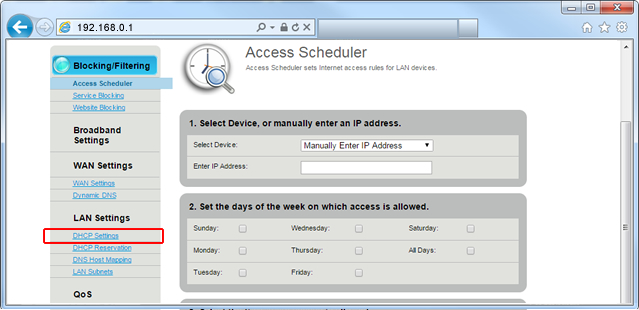
5. Select "DHCP Settings" in the left sidebar. This menu option may appear in the LAN Settings section or in the IP Addressing section, depending on your model.
6. Follow the steps to edit the DHCP settings.
- Step 1: Enable/Disable the DHCP server.
- Step 2: Enter the IP addressing values to be allocated.
- Step 3: Enter the DHCP server lease time.
- Step 4: Enable/Disable DHCP reservations.
- Step 5: Set the DNS type as Default or Custom.
- Step 6: Click "Apply" to save your changes.
Top modem/router topics
- Set up your modem and activate internet
- Connect devices to your WiFi network
- Should you use 2.4 or 5 GHz WiFi?
- Brightspeed compatible modems
- How to read your modem lights
- When and how to use modem reset
- How to return a modem
- How to upgrade your modem's firmware
- Modem or router: What's the difference?
View all Modem/Router topics
Top tools
Log in to access our most popular tools.
Was this page helpful?
Brightspeed services support

.png)


.png)


