Set up Wireless Schedule on your modem
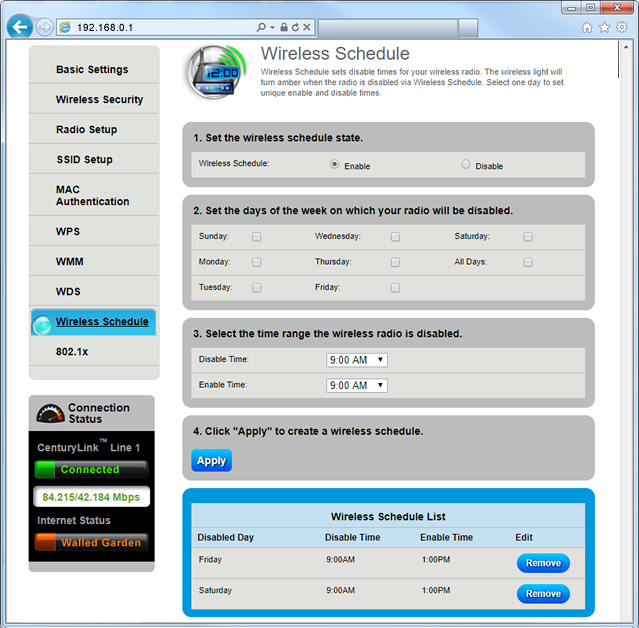
The "Wireless Schedule" in your modem's Wireless Setup allows you to set days and times that your WiFi network turns off automatically. The wireless light on your modem will turn amber when the wireless (radio) signal is disabled.
NOTE: Depending on your model, your modem's user interface may appear slightly different from the images below.
1. Connect a device, such as a computer or tablet, to the internet through WiFi or using an Ethernet cable connected to your modem.
2. Open a web browser and type http://192.168.0.1 into the web address field.

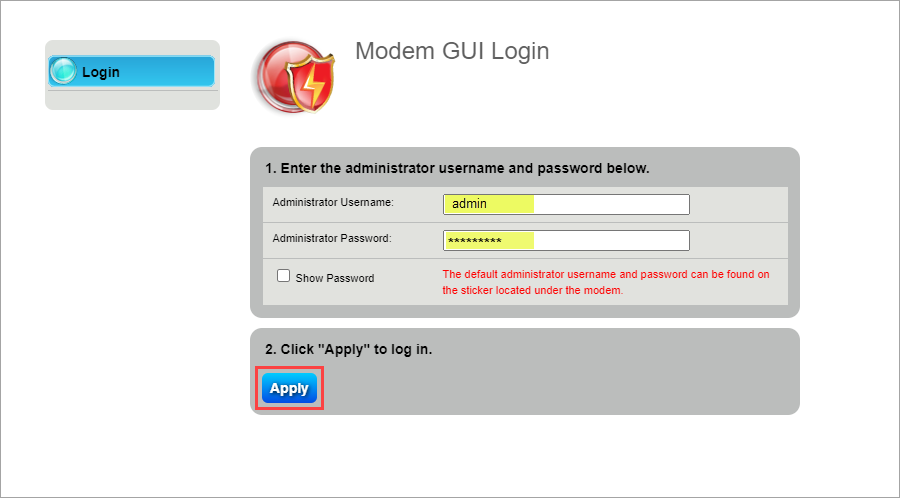
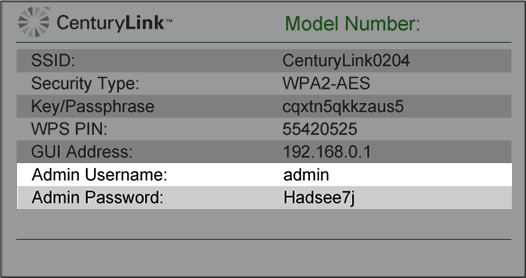
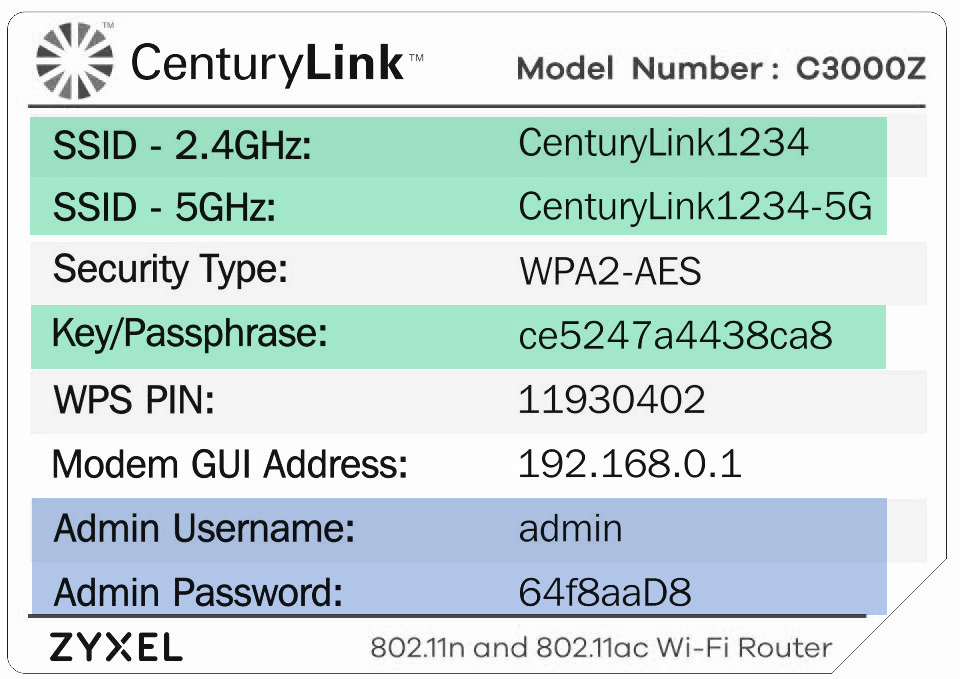
3. Log in to the modem's settings interface (Modem GUI) using your Admin Username and Admin Password. Note that these are different from your wireless network name (SSID) and WiFi password (security key).
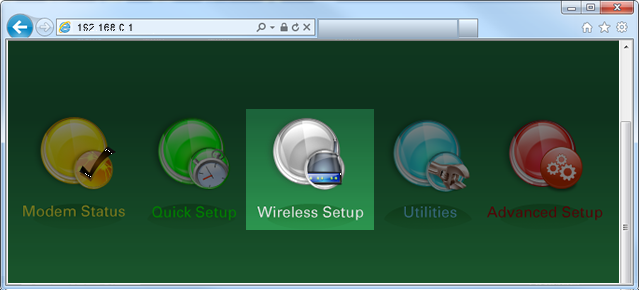
4. Select the Wireless Setup icon in the main menu.
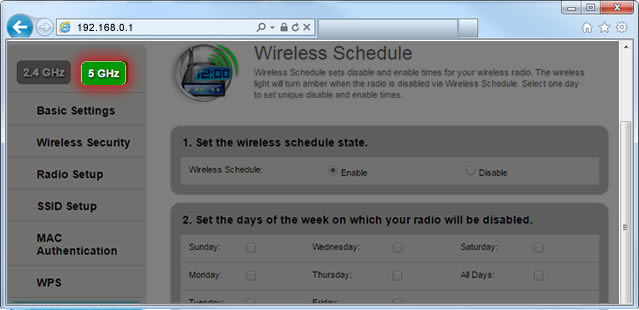
5. If given the choice, select "2.4 GHz" or "5 GHz" in the left sidebar. Some models do not offer this option. Read more about the how to choose between 2.4 and 5 GHz frequency, and learn which modems have this capability.
6. Select "Wireless Schedule" in the menu on the left side.
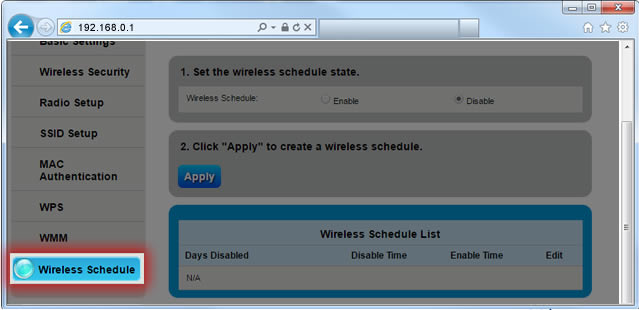
7. From here you can select "Enable" to turn on scheduling mode. Then set the days and times that you want your WiFi network to be disabled. When you're done adjusting the schedule, select "Apply" to save your changes.
Top modem/router topics
- Set up your modem and activate internet
- Connect devices to your WiFi network
- Should you use 2.4 or 5 GHz WiFi?
- Brightspeed compatible modems
- How to read your modem lights
- When and how to use modem reset
- How to return a modem
- How to upgrade your modem's firmware
- Modem or router: What's the difference?
View all Modem/Router topics
Top tools
Log in to access our most popular tools.
Was this page helpful?
Brightspeed services support

.png)


.png)


